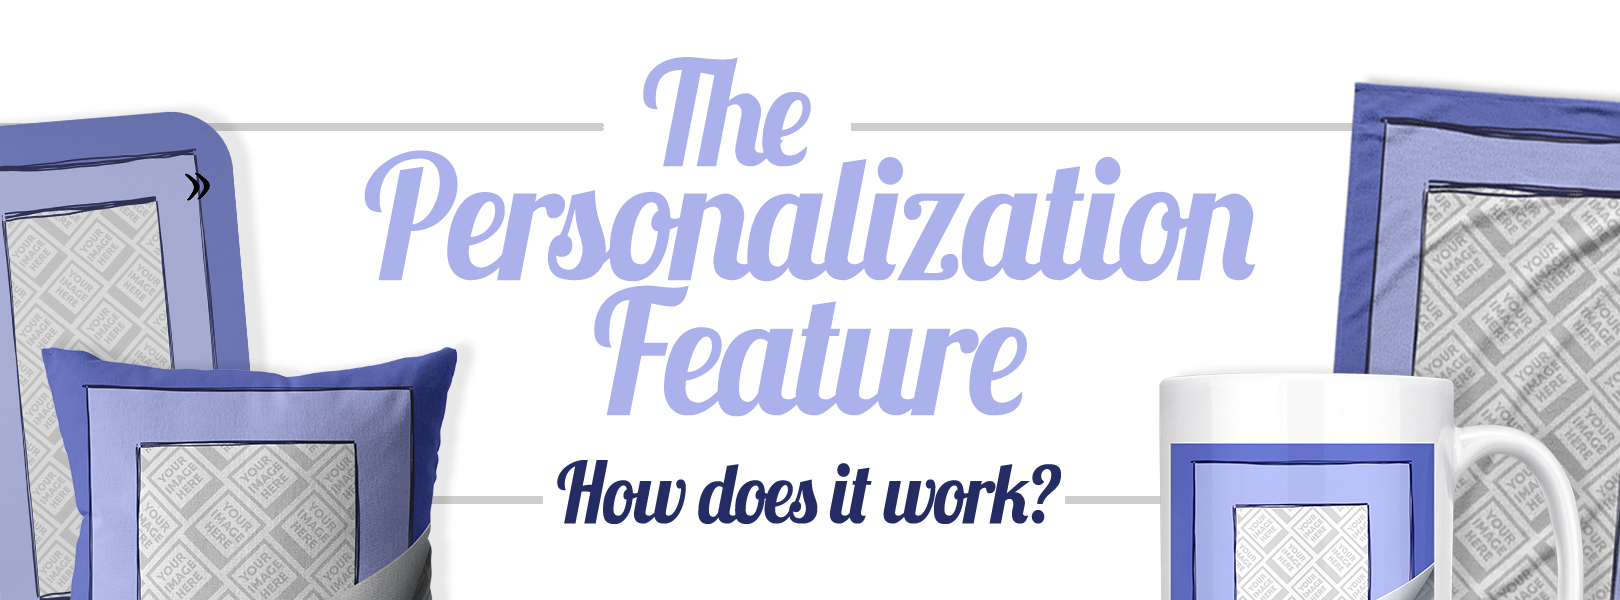
Every successful shop owner knows catchy, customized designs are the key to attracting new customers and encouraging previous buyers to come back. But even the best products face challenges: too many choices can be overwhelming, and shoppers may struggle to find exactly what they’re looking for. Well, teelaunch is all about solving problems and arming our users with new ways to bring in satisfied customers, and our latest update is a BIG one. With our brand-new personalization feature, your customers can find a design that fits their needs, then add their own photos for a 100% one-of-a-kind product. Our app takes care of all of the hard work for you, and your customers have a hand in the design process. It’s a win-win for everyone!
We’re consistently working to expand our personalized product line, but after releasing our first eleven personalized products, we feel it’s the perfect time to educate our users on just how the feature works, some design tips and tricks, and some insight into the customer experience. So sit back, relax, and prepare to dive into a detailed overview of the brand new teelaunch personalization feature.
The Basics:
To put the personalization process in simplest terms, you can now offer products in your store that allow your customers the ability to upload their own image to the item for print. It’s really quite a simple process from creating your artwork all the way through your customer uploading their image and completing the order.
Here’s how to get up and running with a personalized product from teelaunch:
1. When selecting an item to add to your store, pick a product from the “Personalized” category in the teelaunch app. (Check out just a few of the personalized products we offer below – More to come in the future!)

2. You can either upload a design overlay or select “No Design” (if applicable) to create your personalized product listing.

3. Set your pricing and publish to your store (we suggest adding “personalized” in the title of your new product).

4. Once your personalized items are published, your customers can view and select them in your store in a similar fashion to non-personalized products, but can click the “Personalize” button.

5. Your customer uploads their image to the design area and adjusts the placement until they are satisfied with how the print will look.

6. Your customer submits their order. Upon processing the order, teelaunch will take your artwork and the image uploaded by your customer and create a composite image to be sent to the manufacturer for printing.
7. The customer’s one-of-a-kind product is created and shipped to their door.
It really is as simple as that! Essentially, other than the design process, you would go through the same steps as creating a standard product. Our app takes care of all the hard work for you and your customers supply the hero image of the design. If you would like a step-by-step visual of how easy the process is, please see the video below on the upload process and customer user experience.
Why You Should Utilize Personalization in Your Store
So, why is it that people are getting so excited over the ability to personalize their own products? There is more to it than just a trend. Even though you can see that personalized products are doing extremely well in the online market, you might be indifferent about the decision on why you should adopt it for your business. Let’s try to break it into chunks to understand why e-commerce businesses should incorporate personalization into their product offerings as early as possible.
Customer Loyalty
Customers are attracted to something that clearly says ‘it’s mine’. As we’ve already stated, the sentimental value of a personalized product is enough for anyone to cherish that product and have a satisfactory experience in your store, because let’s be honest, sometimes when customers order products online, they can be a bit skeptical about it. But when they are spending time customizing their design, they are more confident and excited about their purchase. As a customer spends more time and efforts in your store, they eventually form a relationship with the brand. They visit the store regularly, stay on product pages for longer, and your store ends up gaining another loyal customer.
Optimized for Conversions
Our personalization software at teelaunch is one of the fastest and most sleek designers in print-on-demand (We’ve done the research). In as few clicks as possible, your customers can have their very own personalized product. The speed and ease-of-use makes for a pleasant user experience that is sure to generate consistent sales for your stores.
Building your Brand by Standing out in the Crowd
As an e-commerce business, you have to do things that others aren’t. In the online market, your customers can compare prices of similar products with a click of a button. So, you have to offer something that keeps them coming back. Product personalization is a feature where you can offer an endless amount of unique concepts and designs to your customers which give them reasons to come to you instead of your competitors. Not to mention teelaunch has a product catalog full of unique products that you can personalize– This adds more value to your store.
Creating The Framework for a Personalized Product
Now that we’ve discussed the reasons why adding personalized products in your store are a must, we will discuss the design overlay creation process. Creating the framework for a personalized product is quite different than creating a design for any of our standard products. You have to think about how your customer’s photo will shine through your design, rather than compete with it. With that in mind, it’s impossible for your customer’s photo to shine through a brick wall–so remove those background layers on your designs and make sure to leave an area of transparency!
But don’t worry too much about uploading incompatible designs. We’ve created a helpful and intuitive “Your Image Here” patterned background that will appear behind your design to A.) show your customers that it is a personalized product and they can add their own image to the product, and B.) show YOU that your design has the proper area of transparency. Here’s an example of exactly how a properly uploaded file will look to you and your customers:

“Your Image Here” Pattern 
Before & After Design Upload 
Final Mockup Output
If you would like a step-by-step visual of how to create a simple design overlay, please see the video below.
Design Tips For Creating Personalized Products
Personalized products are great because they make your customer’s image the hero, but that doesn’t mean their image couldn’t use a sidekick. A creative overlay punches up personalized products, and there are endless possibilities when it comes to designing your artwork. We’ll go through a few tips and tricks to maximize the potential of your designs, as well as provide some examples to help inspire your creative process.
1.) Use Design Elements to Your Advantage:
Creating design overlays with simple shapes to frame your customer’s images is always a solid option, but if you want to take your designs to the next level, consider using design elements that interact with the images your customers upload. For example, text that extends through the transparent areas of your design is a great way to help your creativity interact with your customers’. When unique designs pair up with your shoppers’ favorite photos, it makes the decision to purchase pretty easy.

Interacting Design Elements 
Element Interaction Mockup
2.) Design With a Purpose:
Obviously, creating artwork that appeals to the masses casts a wider sales net, but artwork designed for a specific demographic will help you fine-tune your marketing strategy and snag customers that will spend more in your store. Not only will higher conversion rates lead to lower advertising costs, but you’ll also be able to test out your overlay designs to better suit the type of personalized images your customers will most likely upload.
Consider the sports card canvas design overlay below, since this particular design is aimed at featuring an athlete either in action or posing for a portrait, it makes more sense to create a canvas overlay that has a large and unobstructed opening for your customers to place their image. If you were to have a busier overlay with a transparent opening that is unconventionally shaped, it may be difficult for your customers to properly place and size their image to be displayed ideally. When you create your designs with a purpose, you can test out potential image scenarios to make sure you are giving your customers the best opportunity to personalize their product with a high rate of success.

Canvas Design Overlay 
Canvas Finished Product
3.) Create an Example of a Finished Product to Include With Your Mockups
Though not necessary, we find this step to be extremely useful when it comes to advertising and selling your personalized products. When your customers are looking through your products, it’s always a good idea to include an example photo of what the finished result will look like once an image is added, especially if your design contains white text that would otherwise be difficult to see on our light background pattern. Take the mockup below, The white text is blending in with the “Your Image Here” background so it’s almost impossible to read, a quick fix is creating a new file with one of our high-res mockups and adding a photo in it, this will help your customers envision the end result while also grabbing the attention of potential customers.

We use the site www.unsplash.com to find high quality free photos to use for our example images. Utilizing this website in conjunction with adding an example image to your product listing also helps drive the narrative of the theme of your design. Since teelaunch offers hi-res mockup images, you can quickly and easily create these example images within the app without going through the entire “publish to store” process.
If you would like a step-by-step visual of how to create a complex design overlay, please see the video below.
What Kind of Designs To Make?
For those of you who are ready to start creating design overlays and are brainstorming some ideas, we have put together a list of potential design ideas that work well for customer personalization.
• Kids – Graduation, Birthday, Confirmation, Becoming a big brother/sister, Super hero/Princess, First ___ (First lost tooth, first haircut etc.)
• Parents – Mother’s Day, Father’s Day, Family themed, “Boss” themed, Vacation themed, Birthday, Holiday photo, New addition to the family, Office desk products, “World’s Best __”, “My favorite athlete calls me mom/dad”
• Couples – Worlds Best Boyfriend/Girlfriend, Prom Proposal products, “Taken By __” Long Distance Couples, Moving Away, “My Other Half”
• Pet-Owners – “Home is where my pet is”, I love (Animal Breed), “Forever in Our Hearts” memorabilia,
• Best Friends – “Thing 1/Thing 2”, Long distance mugs, Yin & Yang, Care Package Themed, Moving Away, “Thank You for Being My BFF”
• Grandparents – “I love my Grandkids”, “Our Greatest Blessings Call Me Grandma”, “My First Grandson”, “My Wife’s a Grandma and still looks this good”
• Silly – Mug shot, Comical gift topics – friends/family/co-workers, “Old Fart” – birthday gift, Movie Quotes

Best Friends 
Missing You 
Love 
Pet 
Family 
Children 
Vacation/Memories
Uploading “No Design” or Blank Personalized Product
We understand that creating designs may be time consuming and, in some cases, costly when hiring professional assistance. Don’t worry though, we’ve thought about that and implemented an option to upload “No Design” to most of our personalized products. To create a personalized product without a design, all you have to do is simply click the “No Design” button on the design screen of the personalized product you’ve selected. The teelaunch app will take you directly to the publish screen where you add your product title and pricing and we supply you with mockup images of that product. The process is so simple that there is virtually no reason to not add a personalized product into your store. On that same note, you are also giving your customers an option to have 100% control over the design process. Effectively, when creating a product with no design, you are allowing your customers to use the entire print area for their image to be uploaded. How awesome is that?!
If you would like a step-by-step visual of how to create a personalized product with “No Design”, please see the video below.
All in all, the teelaunch personalization feature was created to give our users another chance to engage with their customers and open the door to even more sales opportunities. Now that you are armed with the knowledge of how simple the feature is to use and how beneficial it will be to your store/brand we hope that you take advantage of giving your customers the ability to create their very own product that is truly personalized.
We are working to add many more personalized products to our catalog in the upcoming months. Regularly check the app for updates and be on the lookout for more product launch blog posts. We can’t wait to see all the amazing products that you and your customers have created together!